How to Build a Gaming PC in 2026 - Step-by-Step Beginner's Guide
Building your first gaming PC is easier than it looks. Here's how to choose parts, avoid compatibility mistakes, and put everything together in an afternoon.
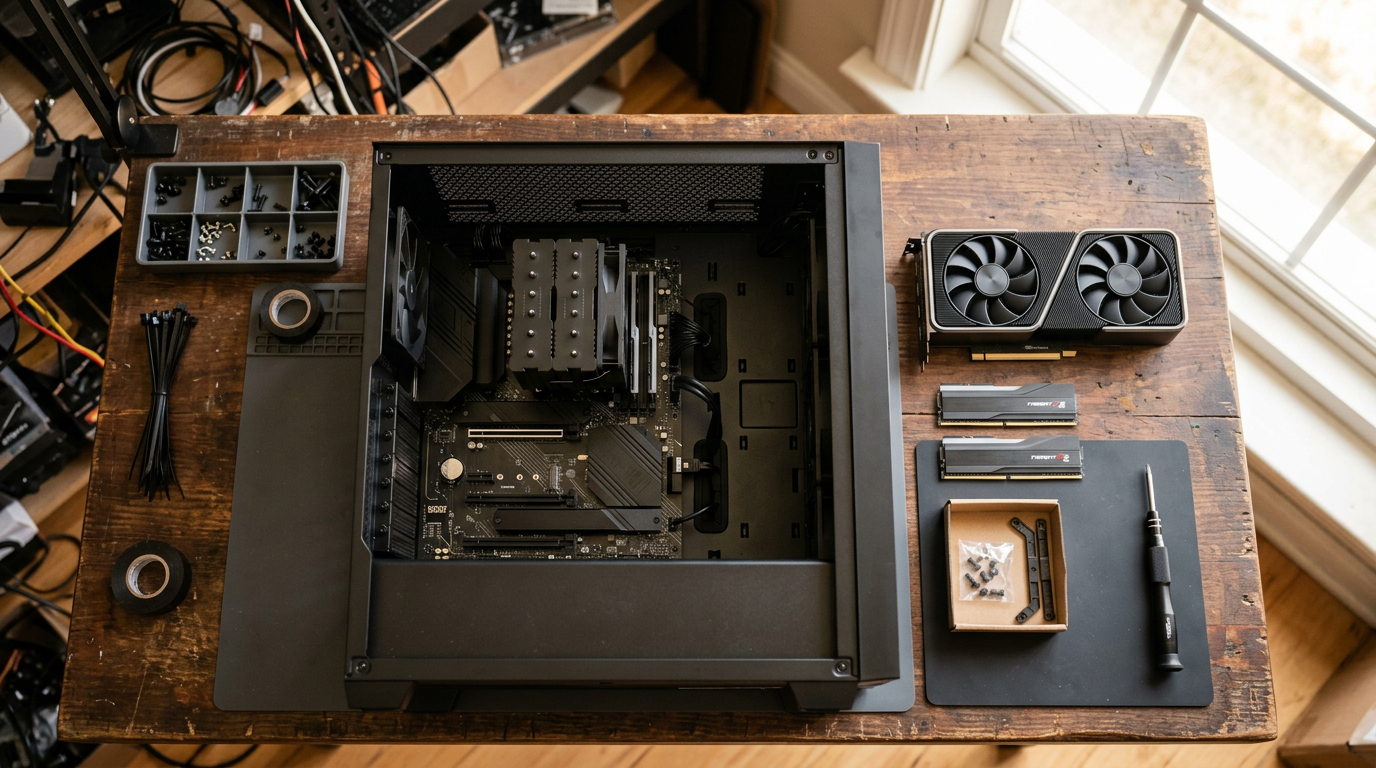
Building a gaming PC has a reputation for being intimidating, but it's really an adult LEGO set with a few expensive pieces. If you can follow instructions and keep track of small screws, you can do it. The payoff is significant: a custom build gives you more performance per dollar than most prebuilt systems, lets you choose exactly where your money goes, and makes future upgrades painless. This guide covers part selection, the assembly order that avoids the classic beginner mistakes, and what to do the first time you press the power button.
Step 1: Set a Budget and Decide Where to Spend It
For gaming, the graphics card (GPU) has the biggest impact on performance, so it should usually take the largest share of your budget — roughly 35 to 45 percent. Next comes the processor (CPU), then memory and storage. Decide first what resolution and frame rate you're targeting: 1080p at high refresh rates needs a very different machine than 4K with ray tracing. Matching your build to your monitor is the single best way to avoid overspending.
Step 2: The Parts You Need
Every gaming PC is built from the same core components. Check compatibility between them before you buy — online part-picker tools will flag most conflicts automatically.
- CPU (processor) - the brain of the system
- Motherboard - must match your CPU's socket and chipset
- GPU (graphics card) - the most important part for gaming performance
- RAM - 32GB is the comfortable standard for new gaming builds
- Storage - an NVMe SSD of at least 1TB, ideally 2TB
- Power supply (PSU) - a quality unit with enough wattage and headroom for your GPU
- Case - check that your GPU length and CPU cooler height fit
- CPU cooler - some CPUs include one, high-end chips usually don't
Step 3: Assemble Outside the Case First
Experienced builders install as much as possible on the motherboard before it goes into the case. Place the motherboard on its box, open the CPU socket, and carefully drop the processor in, matching the triangle marker to the socket — never force it. Install the RAM in the slots your motherboard manual recommends for dual-channel (usually the second and fourth slots), then the NVMe SSD and its heatsink. Finally mount the CPU cooler, making sure thermal paste is applied if it isn't pre-applied.
Step 4: Install Everything in the Case
Install the motherboard's standoffs and I/O shield if needed, then screw the motherboard in place. Mount the power supply, route the main 24-pin and CPU power cables behind the motherboard tray, and connect them. Insert the graphics card into the top full-length PCIe slot until it clicks, secure it with screws, and connect its power cables. Last come the small front-panel connectors for the power button and USB ports — your motherboard manual has a diagram, and yes, everyone finds this part fiddly.
Step 5: First Boot and Setup
Before closing the side panel, power on the system. If it boots into the BIOS, check that the CPU, RAM and SSD are all detected. Enable the XMP or EXPO memory profile so your RAM runs at its rated speed — skipping this is one of the most common causes of lost performance. Then install Windows from a USB drive, download the latest graphics drivers directly from your GPU manufacturer, and update the motherboard chipset drivers.
Common Beginner Mistakes to Avoid
Most first-build problems come from the same handful of oversights.
- Plugging the monitor into the motherboard instead of the graphics card
- Forgetting to enable XMP/EXPO memory profiles in the BIOS
- Leaving the plastic film on the CPU cooler's contact plate
- Not fully seating the GPU or RAM until they click
- Buying a cheap, low-quality power supply
- Forgetting to connect the CPU power cable at the top of the motherboard
Frequently Asked Questions
Is it cheaper to build a gaming PC than buy one?
Usually yes. Building lets you avoid paying for assembly and choose better-value parts, though prebuilt systems can occasionally be competitive during sales.
How long does it take to build a gaming PC?
A first-time builder typically needs two to four hours, including cable management and installing the operating system.
How much RAM do I need for gaming in 2026?
32GB is the recommended amount for a new gaming PC. 16GB still runs most games but leaves less headroom for demanding titles and background apps.
Alex Turner
Gaming journalist and content creator with a passion for helping players succeed.